Below is a guide on how to get started with the Storegate Sync application to synchronise your files between different computers.
Installation
If you have not installed the program, this needs to be done on all computers you wish to synchronize data between.
- Start by downloading Storegate Synchere: https://se-support.storegate.com/en/downloads/
Choose the version that matches your operating system - Run the downloaded file and follow the instructions.
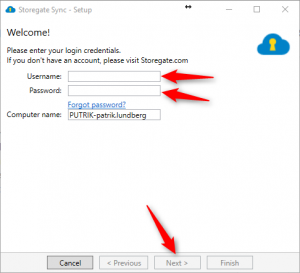
- Once the installation is complete, you will be able to log in. Enter your login details to Storegate and press Next
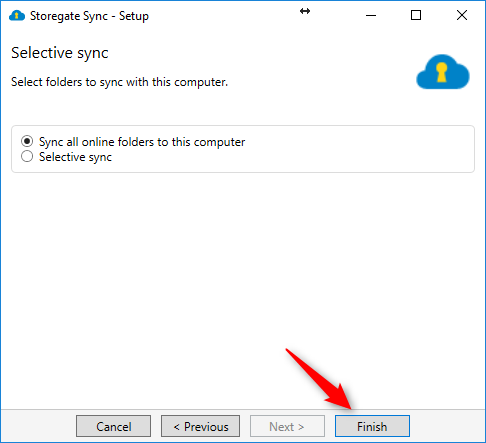
- In the next box, you can choose whether you want to synchronise all directories or only some of them. In our example we choose to sync all. This can be changed later if you wish. Press Finish / Done.

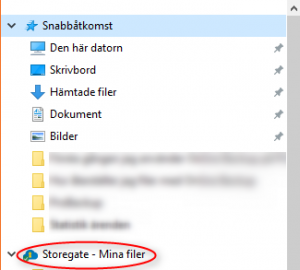
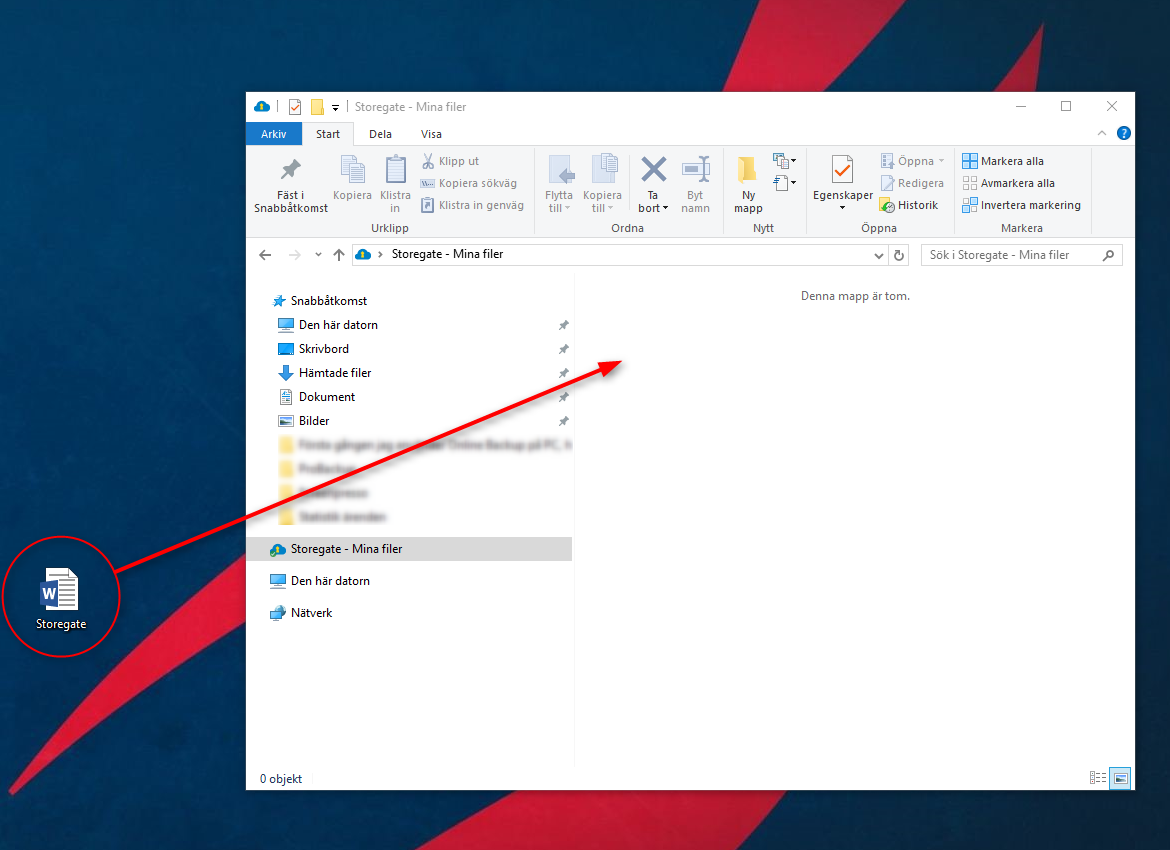
- Once the program is installed and ready, you will see one or two Storegate icons in your explorer. This is where you will enter and work with your files.
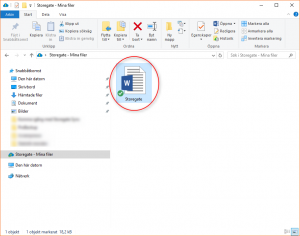
- To transfer files/folders, select them, drag and drop them straight into the Storegate folder in Explorer. So only the files in the Storegate folder will be synced.

- Once the file has been pulled over, and you see a green "check" on it, it is uploaded.
- All computers that now have Storegate Sync installed with your login credentials will sync the uploaded files.


Keep in mind that if you delete a file on one computer, they will disappear on all other computers as well. This is true even if the account you are using has shared files. If you delete a file on the shared space, that file will also be deleted on your colleagues' computers.